
Planting bulbs can transform your garden into a vibrant paradise, but timing and technique are crucial. Understanding when and how to plant bulbs for maximum blooms will ensure a spectacular display in your garden. From selecting the right bulbs for your region to preparing the soil, this guide covers everything you need for a successful blooming season. Get ready to dive into the secrets of planting bulbs effectively.
Choosing the Right Bulbs for Your Climate
When selecting bulbs for your garden, consider your local climate to optimize growth and bloom success. Different bulbs thrive in different regions, so it’s crucial to know what will work best for your area.
Firstly, understand your USDA Hardiness Zone. Most bulbs come with recommended zones, helping you identify whether they’re suitable for your climate. Consider bulbs adapted to your local temperature range and frost patterns; these conditions significantly impact plant growth.
Focus on Seasonal Preferences
Select bulbs based on their seasonal needs. For cold climates, prioritize hardy bulbs like tulips and daffodils, which are more resistant to chill. Conversely, in warm areas, tender bulbs like dahlias and calla lilies are better choices.
Consider moisture levels as well. Some bulbs prefer well-drained, dry conditions, while others thrive in more humid environments. For instance, hyacinths and crocuses do well in drier climates, whereas bulbs like lilies may require more moisture.
Adapt to Sun Exposure
Take note of the sun exposure in your garden since bulb flowering is significantly influenced by sunlight. Bulbs like crocuses and alliums require full sun to bloom effectively, while others such as snowdrops can thrive in partially shaded areas.
Lastly, consider local pests and diseases. Research whether certain bulbs are more susceptible to pests or diseases common in your area and consider companion planting or protective measures if needed. By choosing bulbs wisely for your climate, you enhance the likelihood of achieving vibrant, consistent blooms season after season.
Ideal Planting Seasons for Different Bulbs

Understanding the ideal planting seasons for different bulbs is crucial to achieving a garden full of vibrant, healthy blooms. Each type of bulb has its unique requirements when it comes to the best time to plant. To ensure the best results, gardeners should familiarize themselves with the specific needs of each bulb variety.
Spring-flowering bulbs, such as tulips, daffodils, and hyacinths, are generally best planted in the fall, when soil temperatures have cooled down. This allows them to establish roots before winter, ensuring robust blooms come spring. On the other hand, summer-flowering bulbs like lilies and dahlias should be planted in the spring, once the threat of frost has passed, and the soil has warmed.
Timing is everything with bulbs, as planting too early or too late can affect their ability to grow and flower. It’s important to check the specific growing requirements of each bulb type, as some might have specific needs. For example, some bulbs thrive in cooler climates while others may prefer warmer conditions to flourish.
Understanding regional variances is also essential. Gardeners in warmer regions might have different planting schedules compared to those in cooler areas. Always consult local gardening guides for precise planting times, as regional climates can affect the planting calendar.
Preparing Your Soil for Successful Bulb Growth
Test Soil Quality
Start by checking the soil quality in your garden. Use a simple home soil test kit to measure pH levels. Bulbs thrive best in slightly acidic to neutral soil, ideally with a pH between 6.0 and 7.0. Adjust the pH if necessary, by adding lime to raise it or sulfur to lower it.
Improve Drainage
Adequate drainage is crucial to prevent bulb rot. Enhance drainage by mixing in organic matter such as compost or peat moss. This not only improves drainage but also provides vital nutrients as the materials break down over time.
Aerate the Soil
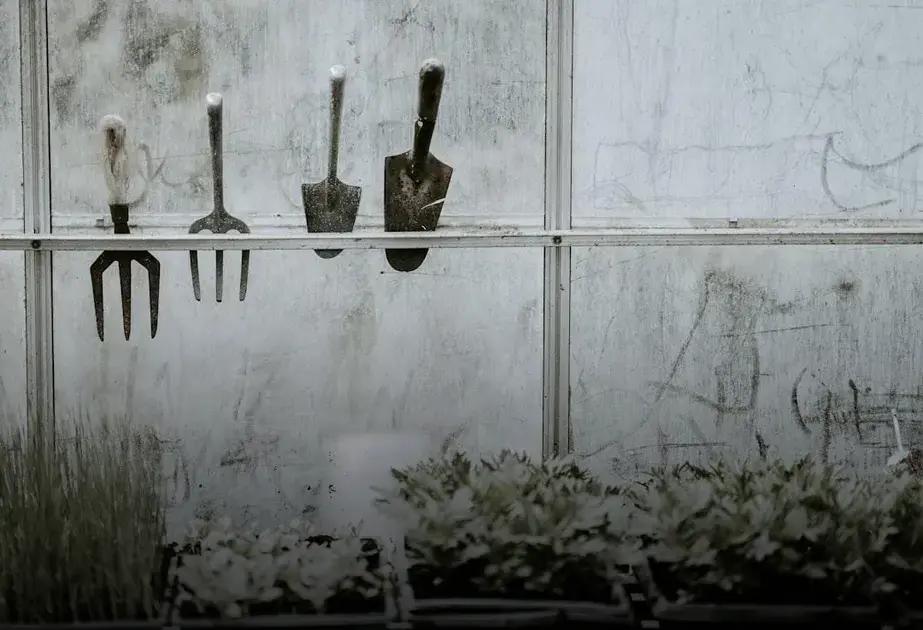
Loosen compacted soil by thoroughly aerating the planting area. Use a garden fork or tiller to break the soil to a depth of about 12 inches. This step ensures that water and air can easily reach the bulb roots.
Add Essential Nutrients
Consider incorporating a slow-release, bulb-specific fertilizer into the soil. This ensures that your bulbs have access to essential nutrients as they grow, promoting vibrant blooms and robust growth. Follow the package instructions to apply the right amount.
Consider Mulching
If you live in an area where temperatures fluctuate, apply a layer of mulch over your bulb beds after planting. Mulch regulates soil temperature, retains moisture, and prevents weed growth, creating an optimal environment for your bulbs to flourish.
Following these steps ensures a well-prepared planting site, setting the stage for successful bulb growth and stunning seasonal blooms.
Step-by-Step Bulb Planting Instructions

- Gather Your Materials: Before you start planting, make sure you have all the necessary tools on hand. This includes gloves, a trowel, a bulb planter, and a watering can.
- Plan Your Design: Decide where you will plant your bulbs. Consider factors like sunlight, spacing, and the type of bloom desired. Group bulbs in clusters for a more natural look.
- Dig the Hole: Use your trowel or bulb planter to dig holes that are about two to three times the height of the bulb. Space holes according to the type of bulb you have.
- Place the Bulb: With the pointed end facing up, place the bulb in the center of the hole. If the bulb is oddly shaped, look for shoot tips to guide its placement.
- Cover the Bulb: Fill in the hole gently with soil, making sure there are no air pockets around the bulb, which can lead to water accumulation and rot.
- Water Thoroughly: Once covered, water the area well to settle the soil and activate growth. Avoid overwatering, which can cause the bulbs to rot.
- Apply Mulch: To maintain moisture and combat weeds, apply a layer of mulch over the area.
- Label the Area: To remember where each kind of bulb is planted, label the area with markers.
- Monitor Growth: Check periodically for the first signs of growth. Bulbs generally show signs of sprouting weeks or months after planting.
Expert Tip: Rotate plantings to maintain aesthetic and soil health. This ensures continuous blooms and healthier plants overall.
Common Mistakes to Avoid for Maximum Blooms
One of the most common mistakes gardeners make is planting bulbs too deep or too shallow. This can lead to either poor drainage or insufficient stability for the plant. The depth varies depending on the type of bulb, but a general rule is to plant bulbs at a depth of two to three times their height.
Additionally, overwatering can be detrimental, especially for blooming. Bulbs need water, but too much can cause them to rot. It’s key to ensure proper drainage in your soil.
Another mistake is ignoring sun requirements. Most bulbs thrive in full sun, so ensure they are planted in a spot where they will receive adequate sunlight.
Avoid using bulbs that are not healthy. Inspect bulbs before planting for signs of mold or decay, as this can impede their growth.
Also, not considering appropriate spacing between bulbs can hinder blooms. Bulbs need space to grow, so avoid overcrowding when planting.
Lastly, failure to remove weeds and debris from your planting area can compete with your bulbs for nutrients. Keep the area clean to promote healthy growth.
 Harvesting Herbs: Secrets for Best Flavor Timing
  Tips for Growing Tomatoes That Produce Fruit Effectively
  Companion Planting: Discover Plants That Thrive Together